
Several years ago when we were back in college, my husband
(then fiancé) built a ladder shelf and matching A-frame end table for my
birthday. Probably because I was always complaining about needing some shelves
for all my stuff. He had stained the vertical supports a dark reddish color and
left the shelves natural (with a poly coat) for a two-tone look. They were solid, well-made pieces and easily the nicest furniture that I had back then. The shelves
traveled with us to our new apartment after we got married, and then to our
current house where they reside in our living area.


I knew the shelves needed to go darker, but how? I didn’t want to paint them. But they were already stained, and I had no
experience with furniture stripping (nor did I want to go down that road).
After some further research, I discovered that the best solution was to try
Minwax PolyShades, which can be used on either raw wood or wood that’s already
stained. The color I decided on that best matched our current style was
Espresso (satin finish).

I started with the small end table; it was a little
less daunting. Of course, there was still some prep work involved. First, I
decided it might be easier to stain each piece individually, so I took the
table apart. Thanks to the simple construction, it was just a matter of removing the wood buttons and taking out a
few screws.

Then I had to sand down the wood, which I did using 220-grit
sandpaper. I wasn’t sure how much sanding was required so I just did it until the surface seemed sufficiently dull (and my arms were tired). After
cleaning up all the sanding dust, it was time for the first coat of PolyShades.
In my previous staining projects, I’ve used regular stain that you can just rub
on with a cloth. However, the instructions on the PolyShades state to apply with a high-quality natural bristle brush (I just used a brush that I already had on hand). This technique took some getting used
to; I think my first couple of coats were a little thicker than they should
have been. You also have to be careful to avoid drips and runs. (I did end up with a few of
those myself, but I just sanded them back down once it was dry and applied more
stain.)


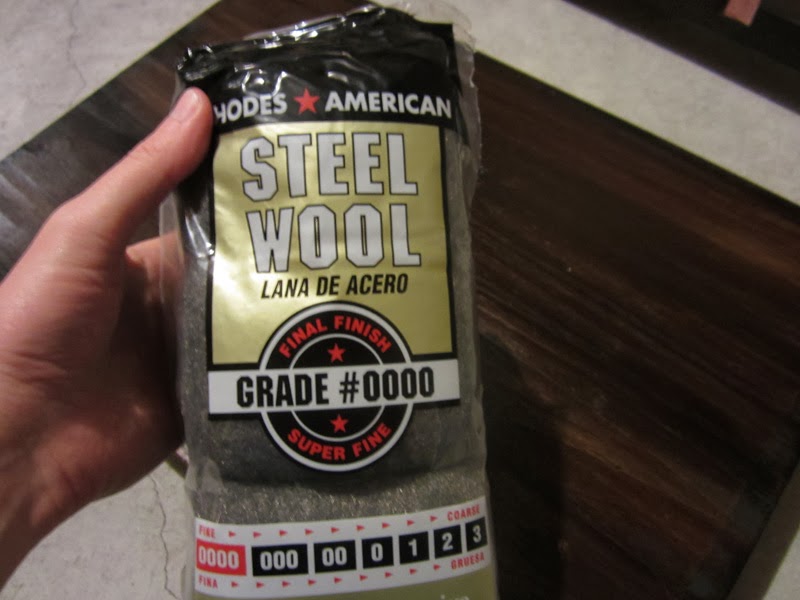
The instructions also say to rub with fine steel wool
(I used grade #0000) between coats.
I ended up putting on three coats to achieve the desired darkness. After letting the
pieces dry completely, I reassembled the table and was pleasantly surprised with the result.


I waited until the following weekend to tackle the coordinating ladder shelf.
This time I decided it would be quicker to stain without taking the whole
thing apart, so I just rested it on some 2x4 blocks. Applying the three coats
was a full weekend project, including the wait time between coats to make sure
it was fully dry.

After what seemed like an eternity, we finally brought the
ladder shelf back upstairs. I really love the richness of the dark Espresso
color and how it contrasts with the wall color now. It looks much more modern
and updated--just what I wanted!

Tall, dark, and handsome.

Admittedly, I made this project harder than it had to be by
staining everything in our unfinished basement with terrible lighting (but there wasn’t
really another good workspace). Plus, since I just laid everything out on
blocks on the floor, I was bending over a lot and giving myself a backache.
But all things considered, I think this furniture makeover turned out really
well. I can't say my staining job was totally perfect, but those little flaws just add to the
character, right?


Our travel souvenirs love their revamped home!
As the name suggests, the PolyShades contains stain and
polyurethane in one step. So technically you don’t need to add poly unless you want the extra protection. (I went ahead and applied a quick coat of Minwax Wipe-on Poly in Satin just for good measure.)
And just to demonstrate the full impact, here are the before & after pictures
(forgive the lighting differences):


What do you think of the results? Have you ever done a
similar project? I’d love to hear about it!

Linking up to:
Tuesday To Do at The Blackberry Vine
The Inspiration Board at Homework
Do Tell Tuesday at Lil' Mrs. Tori

2 comments:
I might try this on our bathroom vanity!
These look great! Glad you found an easy to do solution :-)
Post a Comment